Quick-Start Guide
Set up your first entity, import transactions, and view your financial reports in under 10 minutes.
Overview
This tutorial walks you through the core Axiomatic workflow: creating an entity, importing financial data, letting the AI classify your transactions, and viewing your trial balance and reports.
Step 1: Sign Up and Log In
Navigate to app.axiomatic.software and create an account. You can sign up with email or use a passkey for passwordless authentication.
After signing in, you'll land on the Settings page where you'll create your first entity.
Step 2: Create Your First Entity
Choose the type of accounting you need:
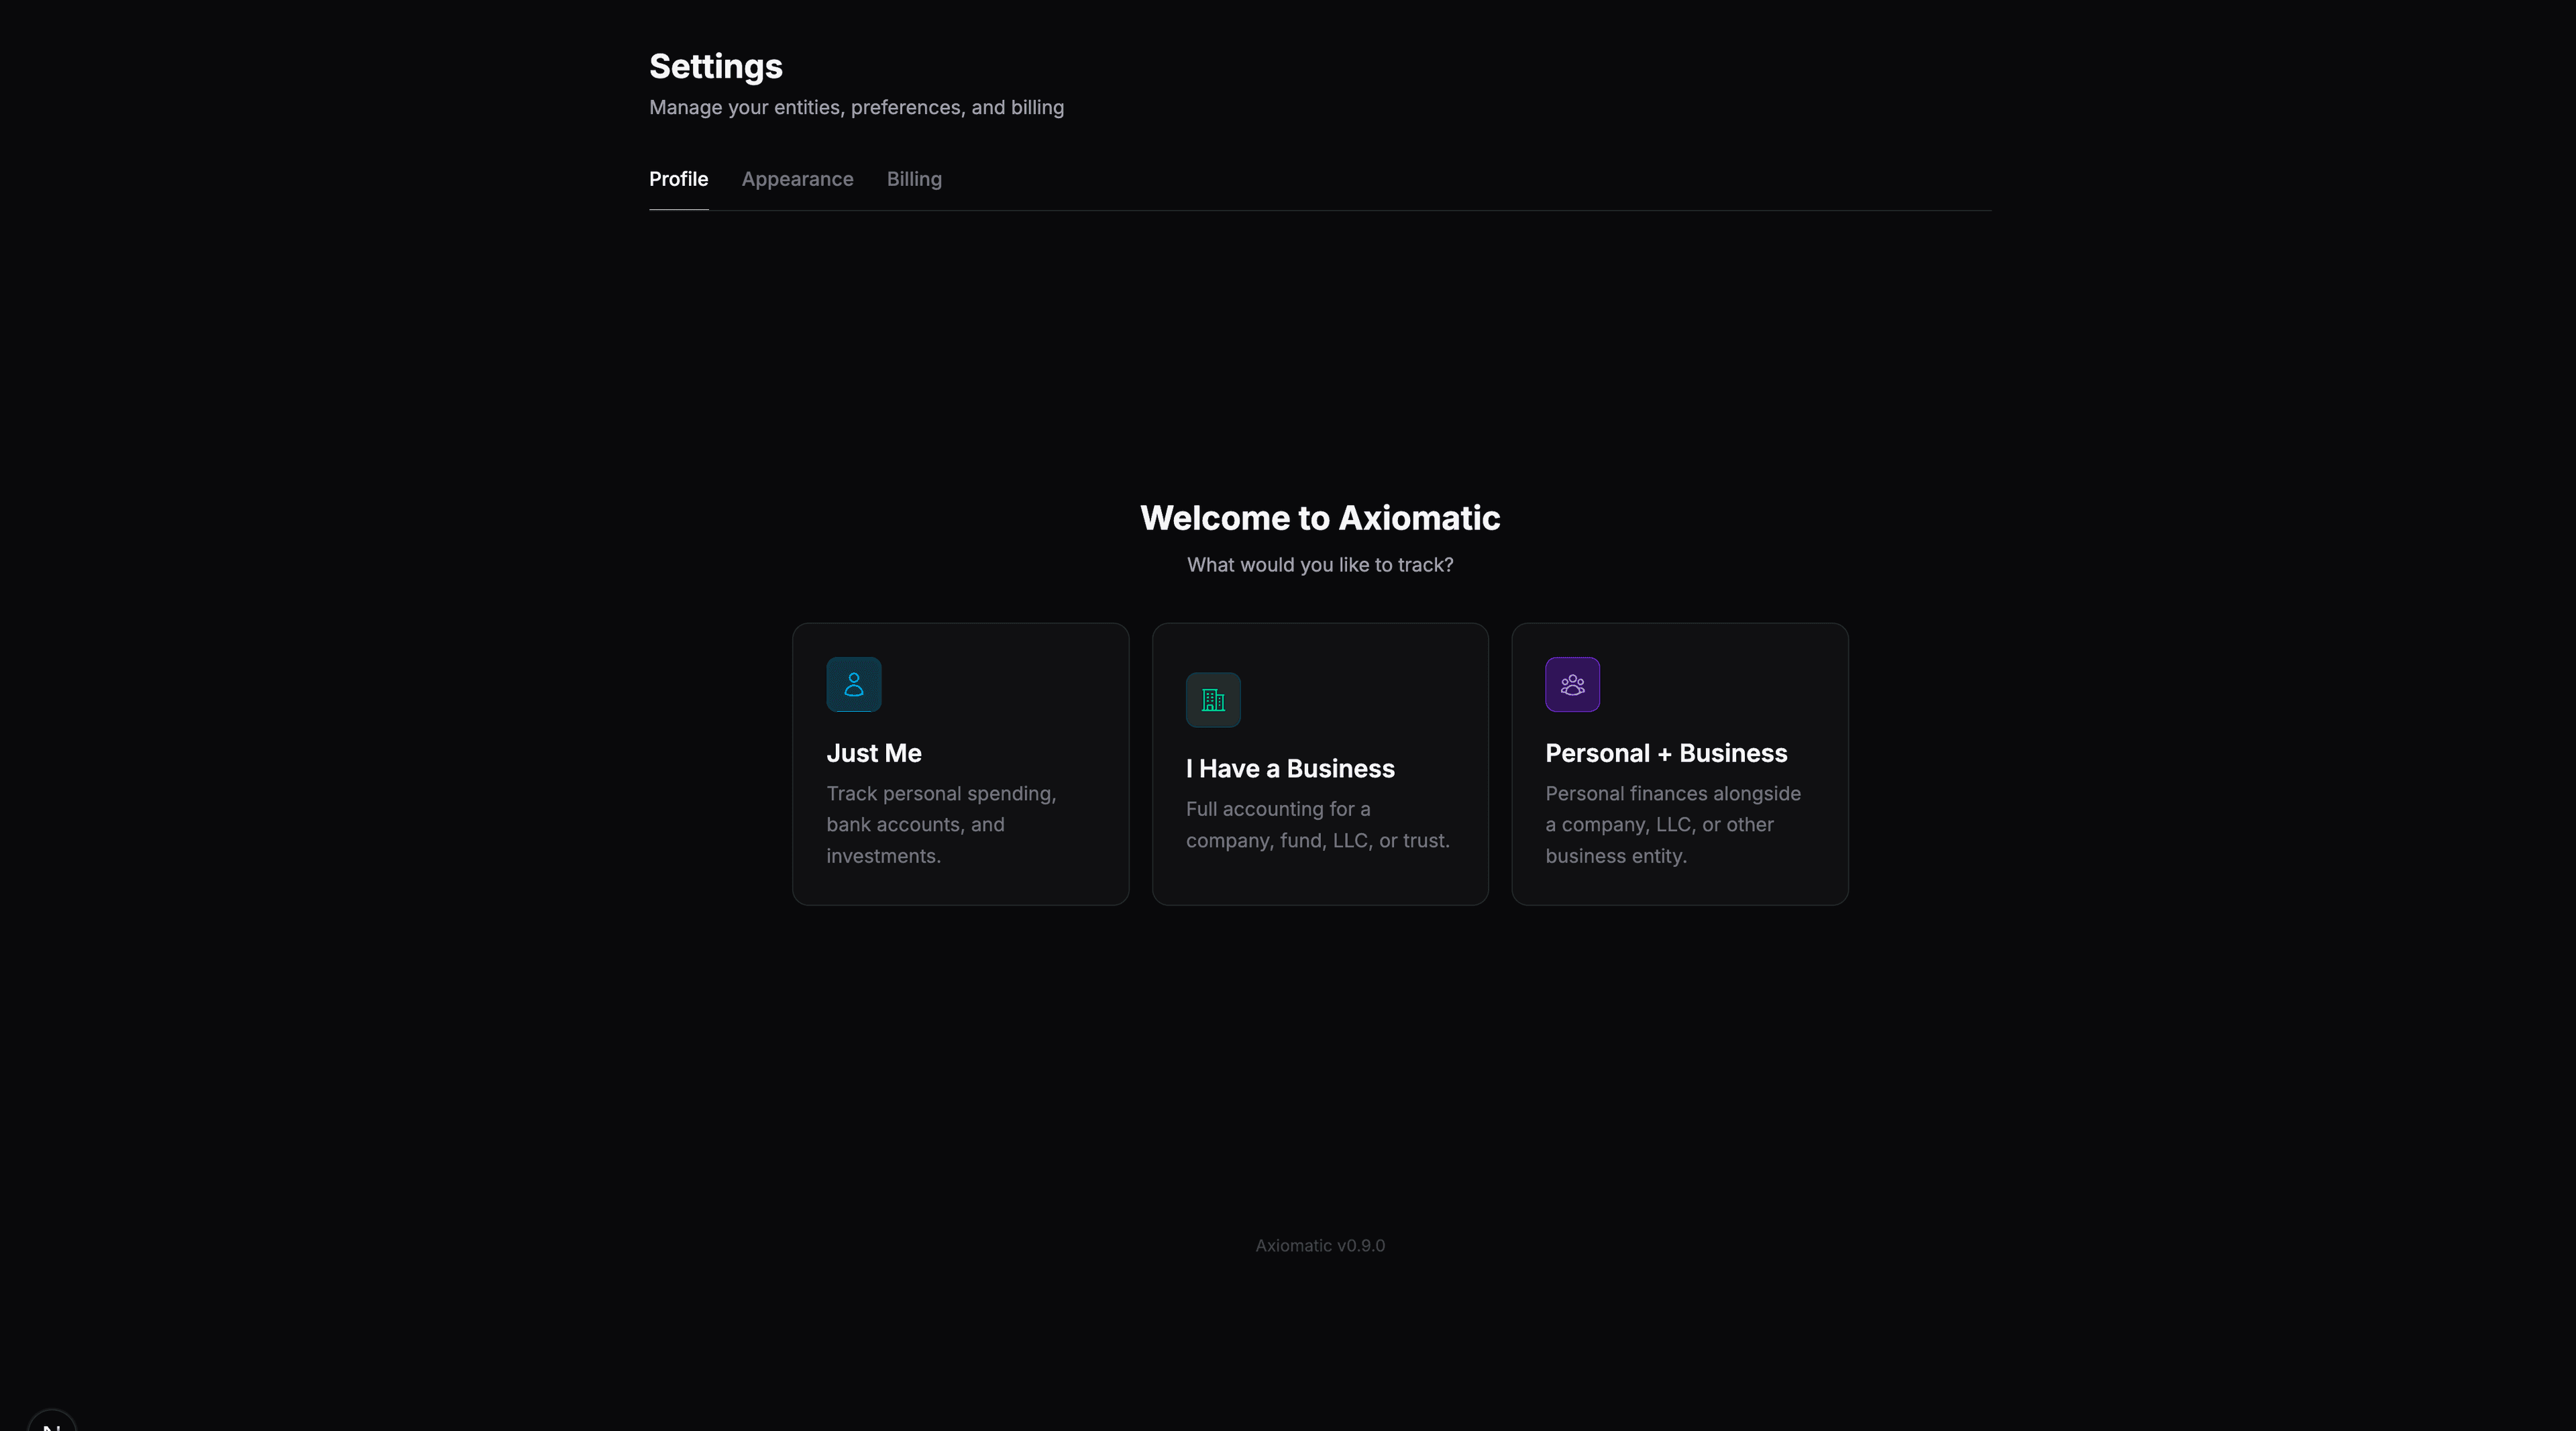
- Just Me — Track personal spending, bank accounts, and investments
- I Have a Business — Full accounting for a company, fund, LLC, or trust
- Personal + Business — Personal finances alongside a business entity
Select your type, then fill in the entity details (name, jurisdiction, entity type). Axiomatic automatically provisions:
- A chart of accounts tailored to your entity type
- GAAP and Tax books with appropriate rule packs
- Account mappings linking logical roles to your specific accounts
Step 3: Connect Your Bank or Import Data
You have two options to bring financial data into Axiomatic:
Option A: Connect via Plaid
Navigate to Settings → Linked Accounts and click Link Account. Plaid connects to thousands of banks, credit cards, and investment accounts. Once linked, transactions sync automatically.
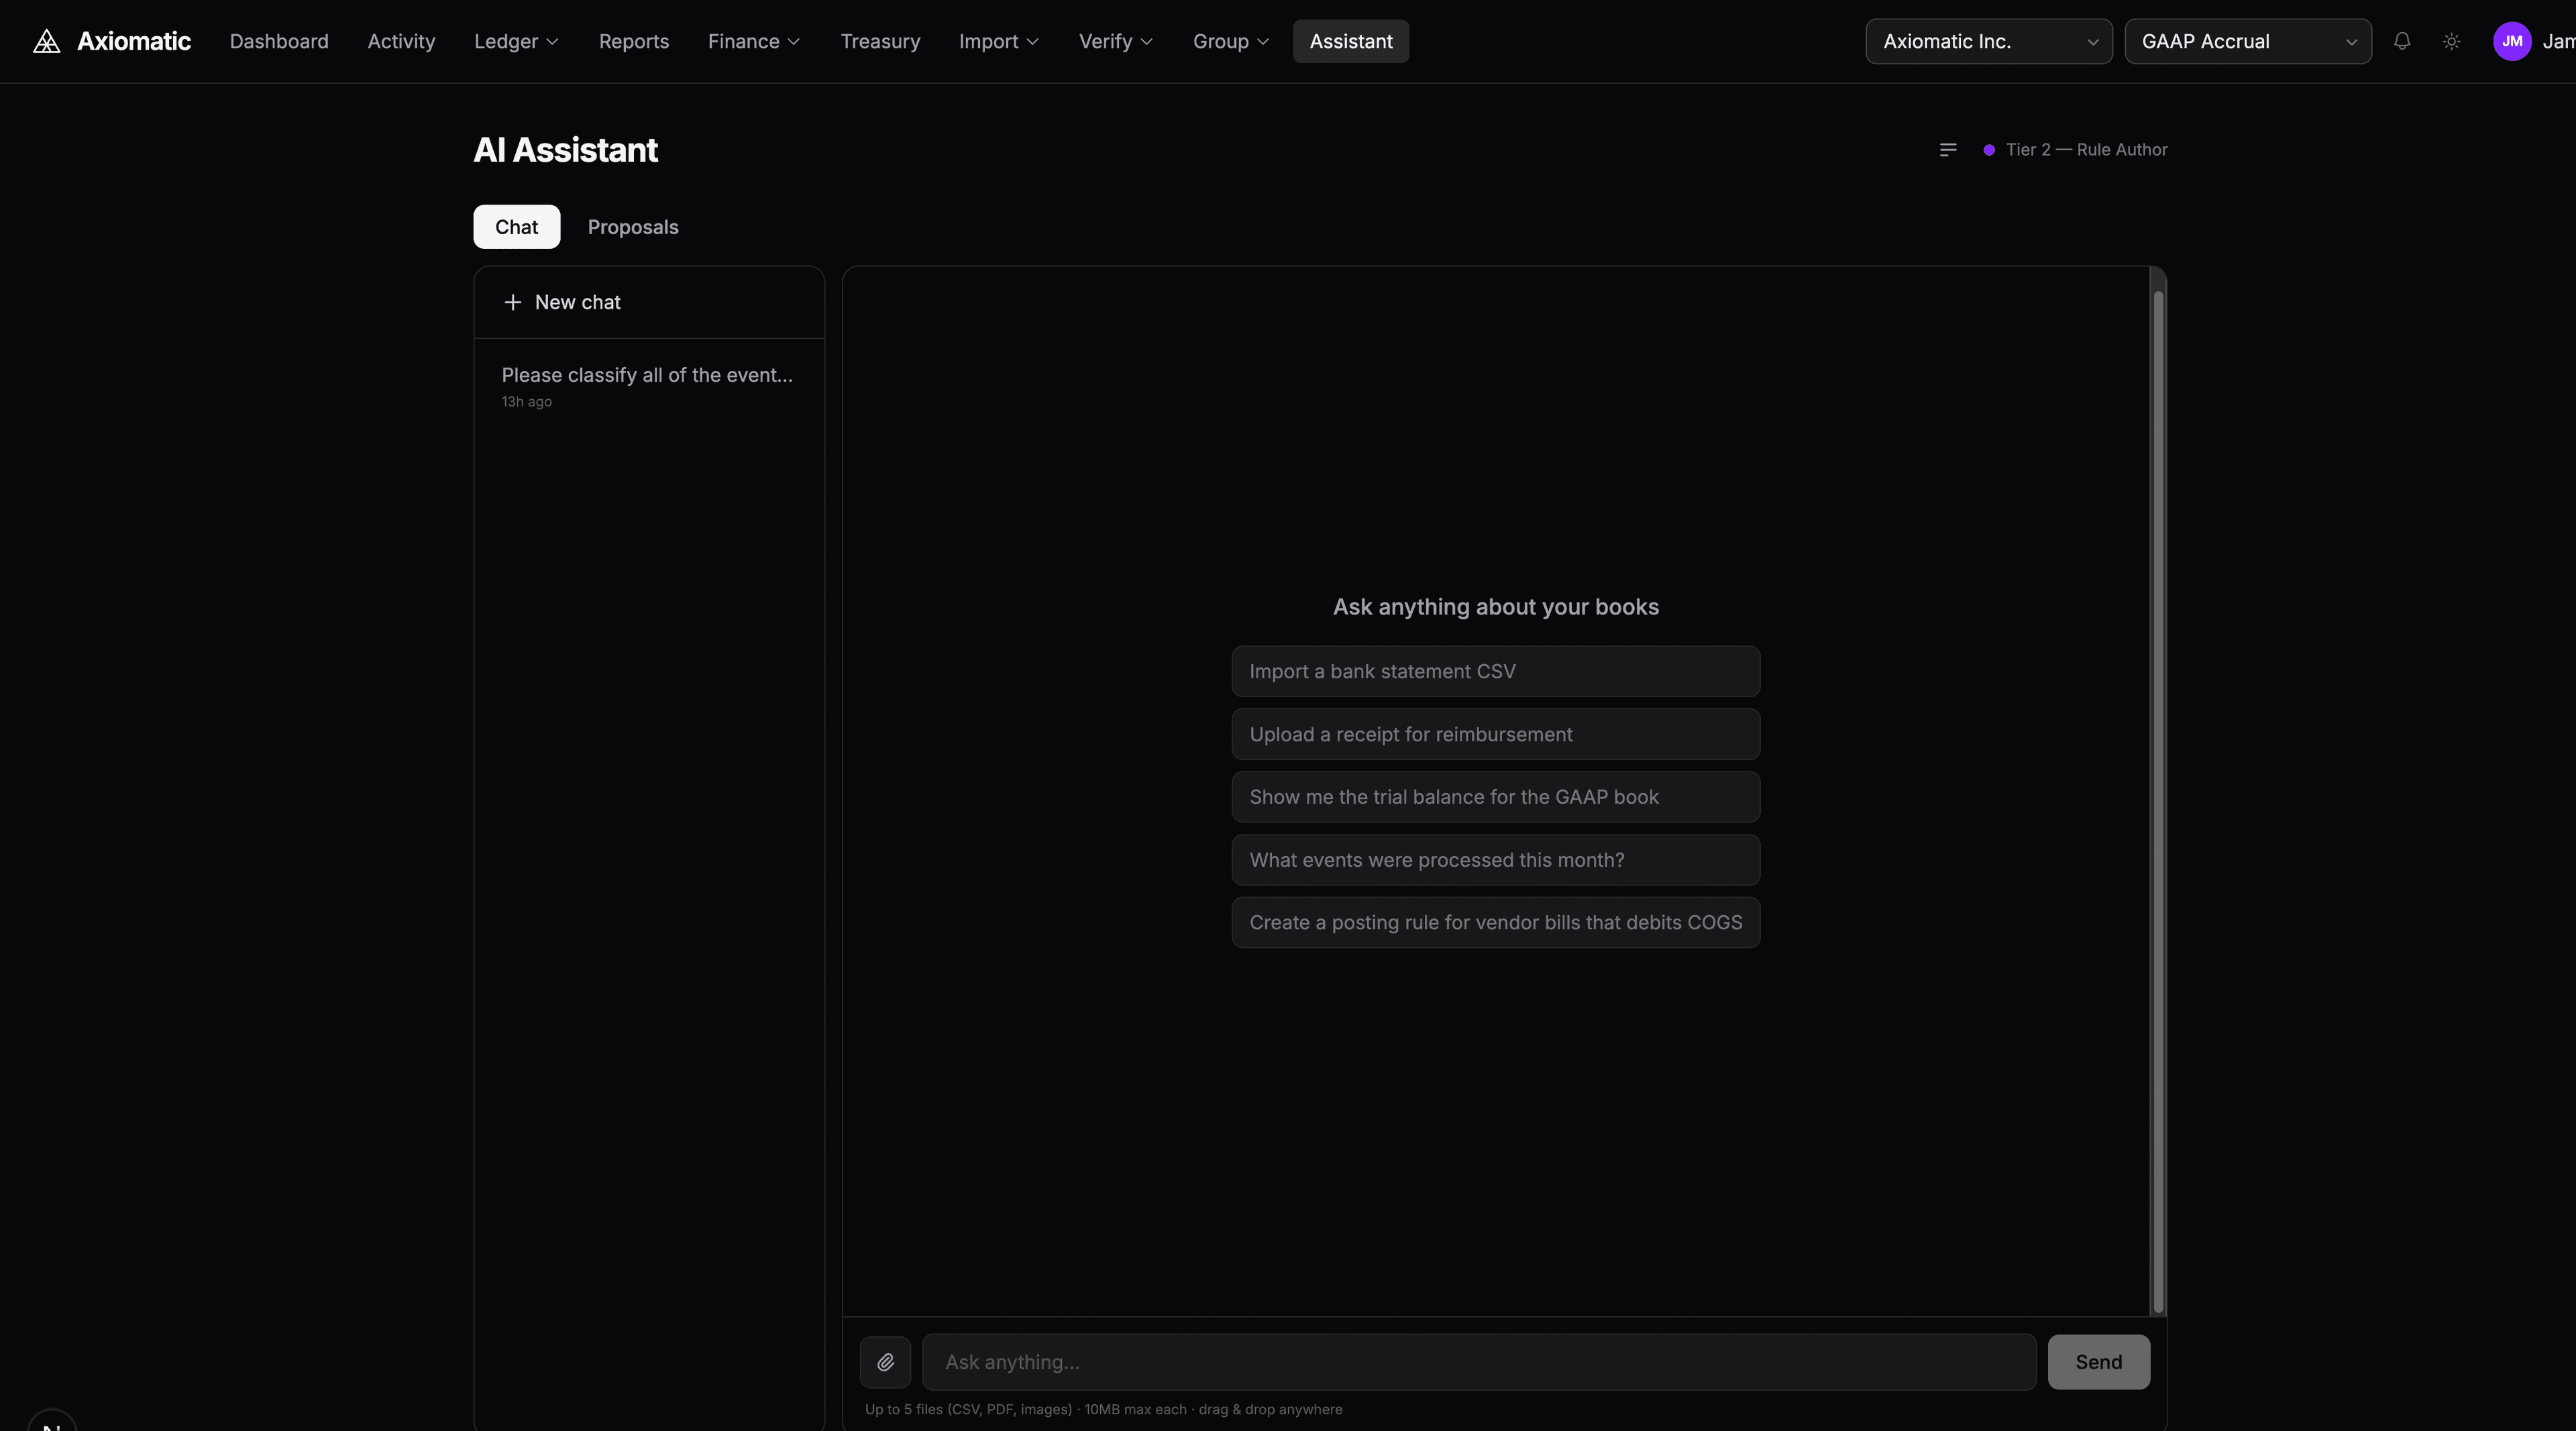
Option B: Import a CSV
Open the AI Assistant (sidebar → Assistant, or press G then C) and drag a CSV file into the chat. The AI reads the headers, normalizes each row, and imports the transactions. It supports statements from Mercury, Chase, Coinbase, and any CSV format.
Step 4: Classify Transactions with the AI
Once your transactions are imported, ask the AI to classify them:
Please classify all unmatched transactions into journal entries
The AI analyzes each transaction, determines the correct event type (e.g., vendor_payment, income_received, debt_payment), and creates events. The posting engine then generates journal entries across all your books automatically.
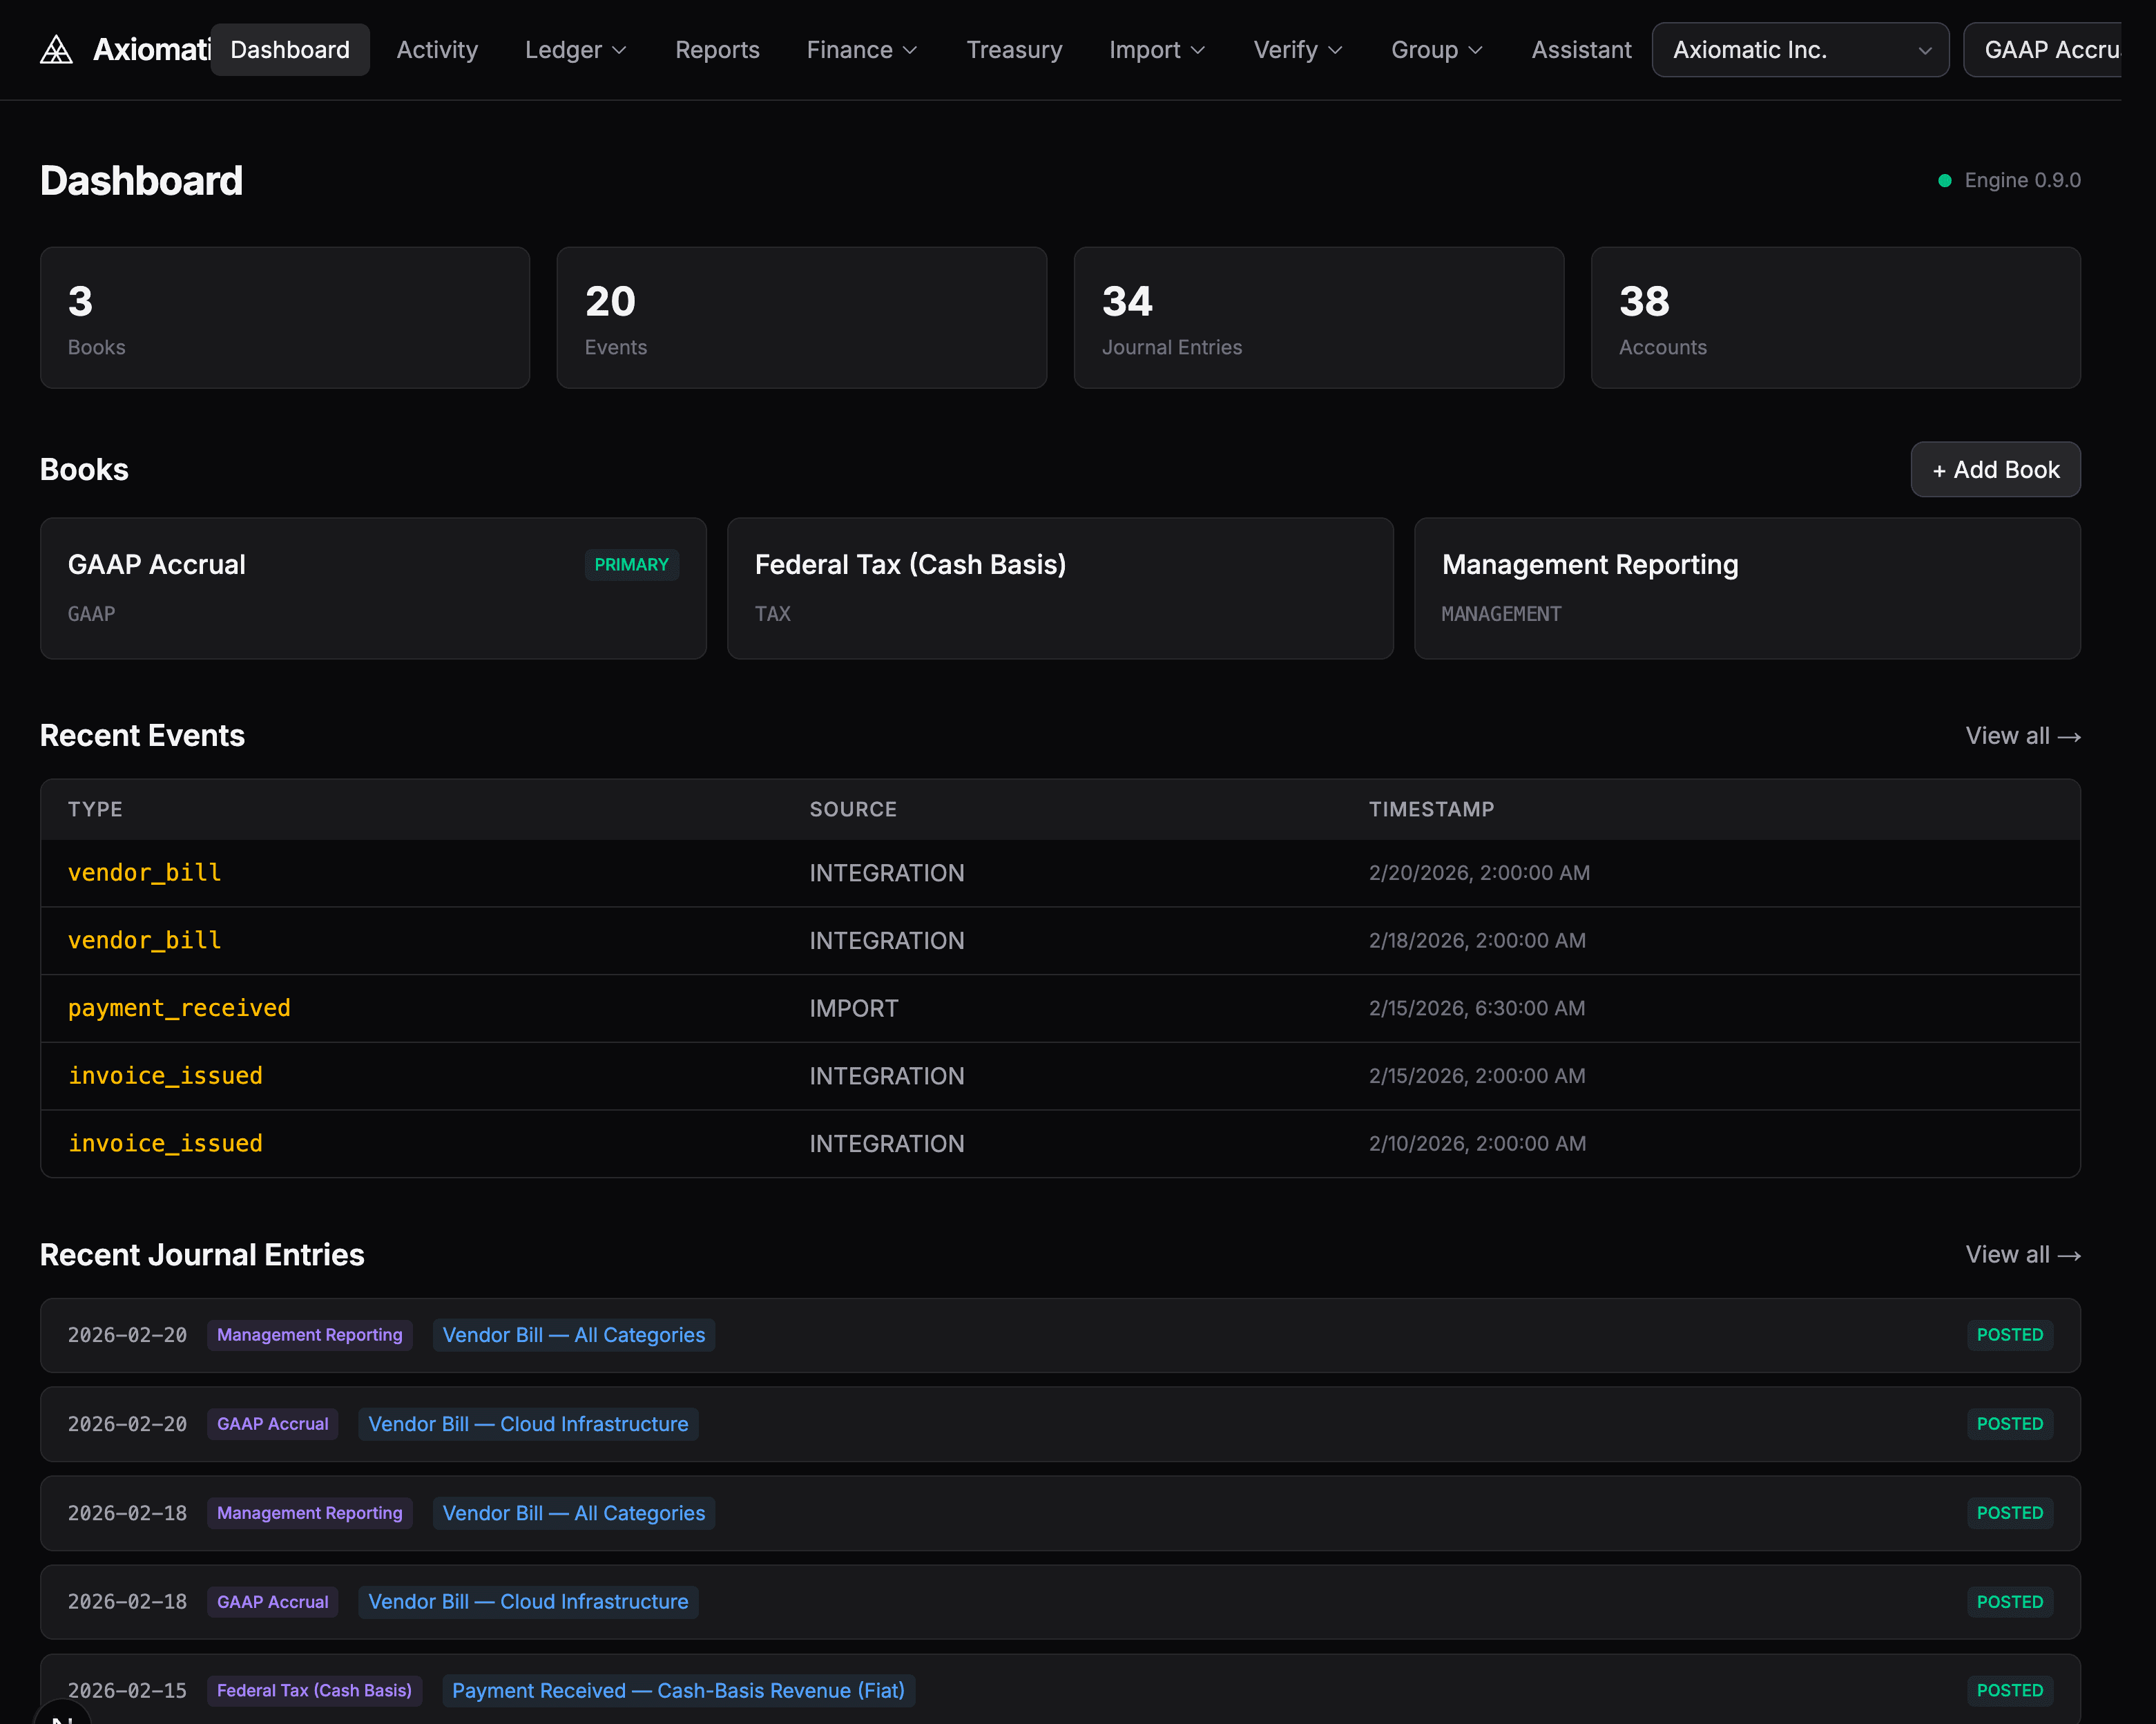
Step 5: View Your Dashboard and Reports
Navigate to the Dashboard (press G then D) to see an overview of your books, recent events, and journal entries.
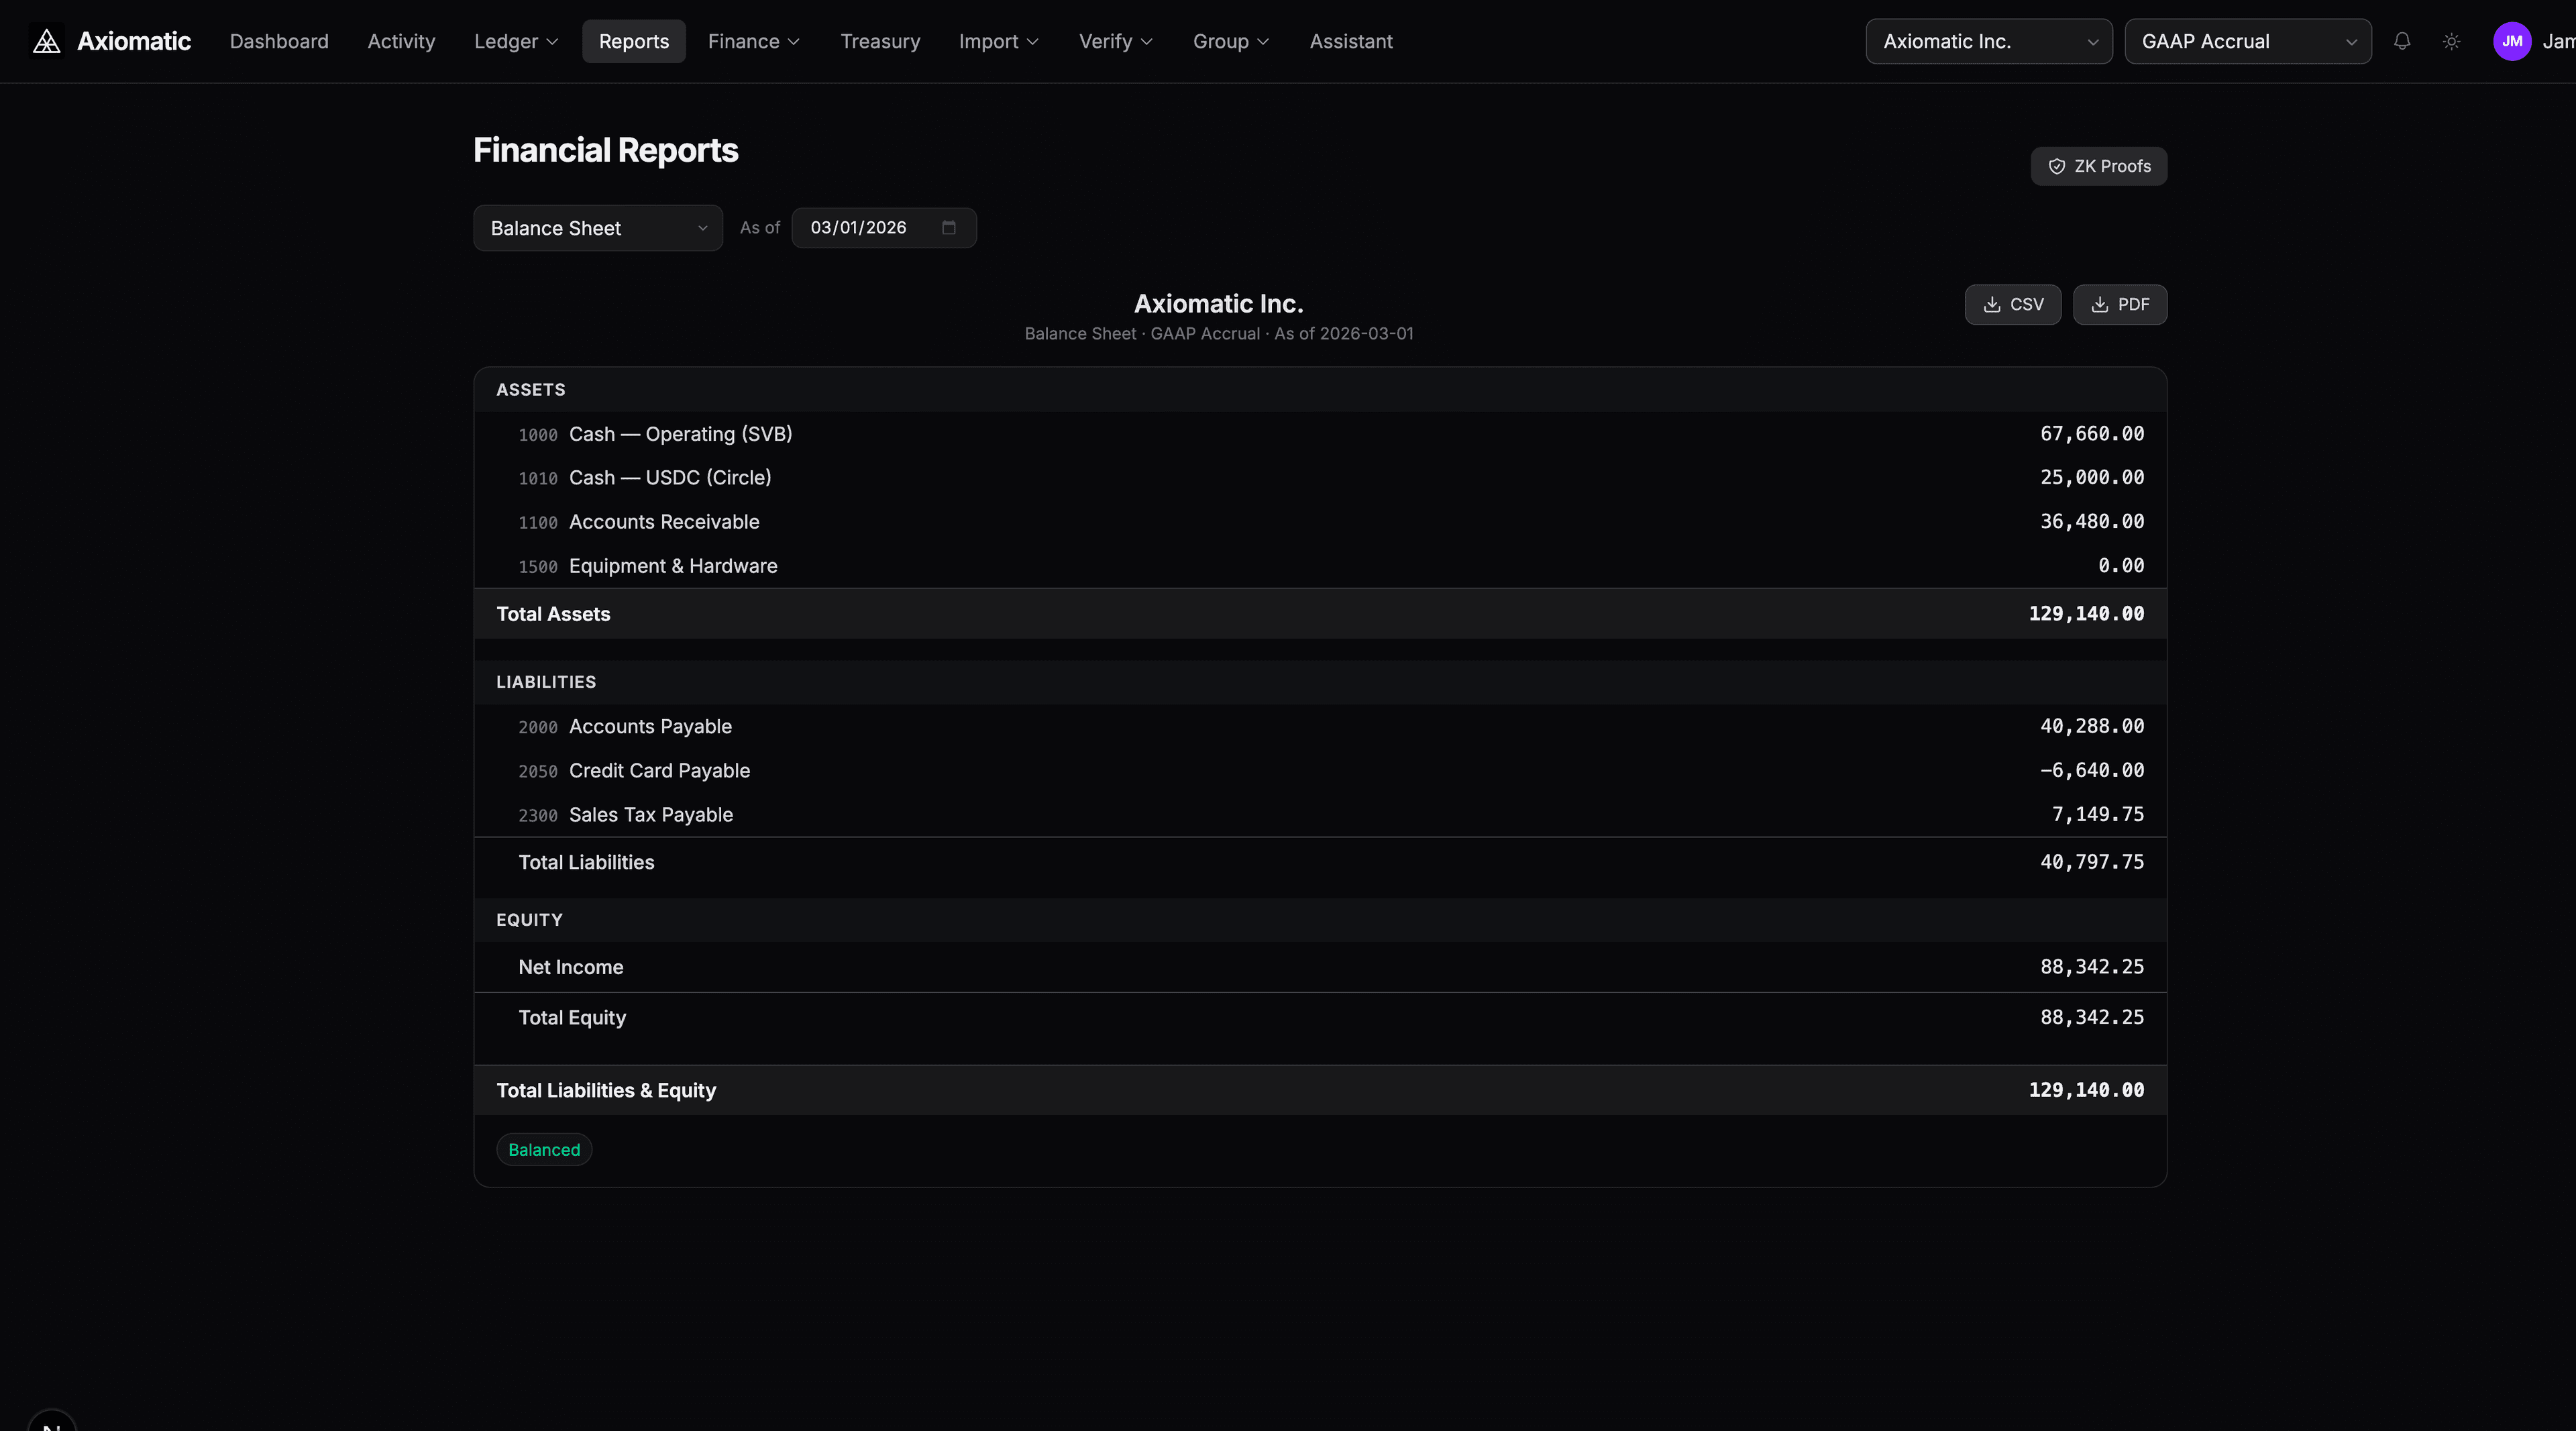
Navigate to Reports (press G then R) to view your:
- Balance Sheet — Assets, liabilities, and equity at a point in time
- Income Statement — Revenue and expenses over a period
- Trial Balance — All account balances for verification
Step 6: Review the Event Stream
Navigate to Events (press G then E) to see every financial event in your system. Each event shows its posting status, event type, and the journal entries it produced.
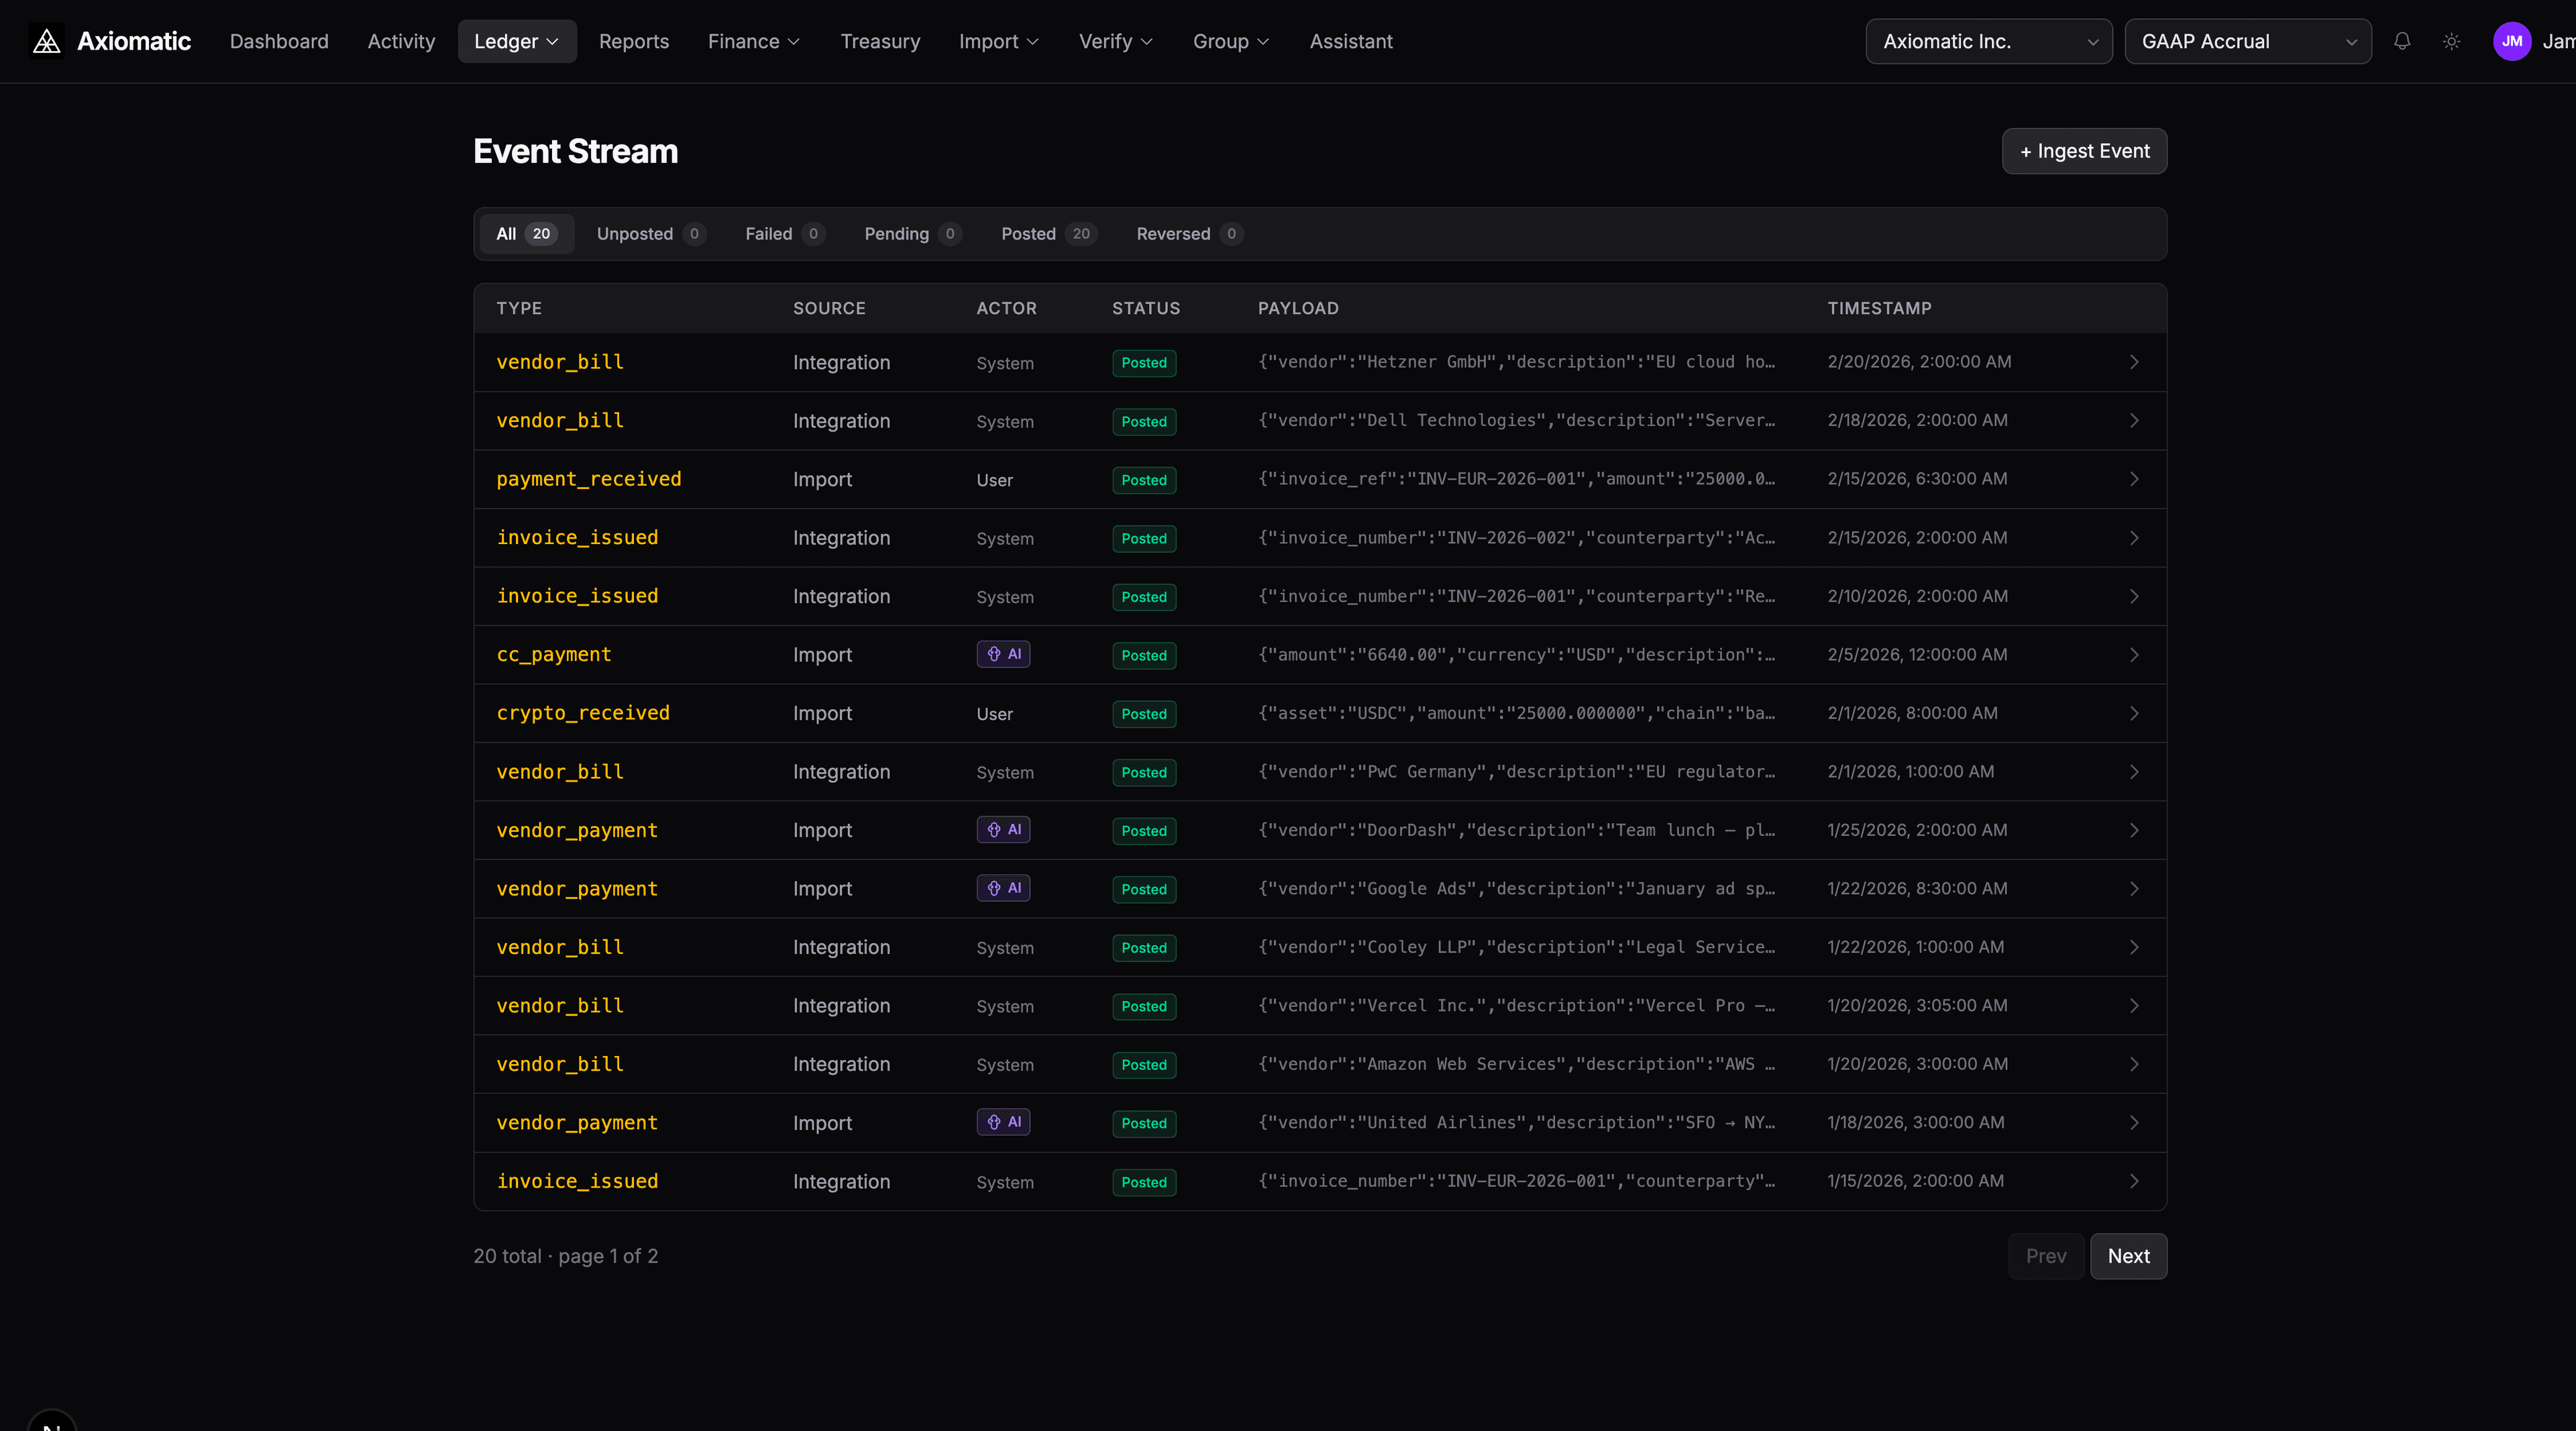
Filter by status to find events that need attention — unposted events may need a new rule, and failed events typically need a missing account mapping.
Next Steps
- Reconciling Bank Transactions — Match imported transactions against your ledger
- Closing an Accounting Period — Run period-end adjustments and close
- Using the AI Assistant — Advanced AI workflows for classification, reclassification, and rule authoring
- Creating Custom DSL Rules — Write your own posting rules